How to Make a Gantt Chart on Paper: 7 Easy Steps [2026]
Paper project planning can look simple until tasks overlap, deadlines shift, and nobody remembers who owns the next action. A rough list may help you start, yet it rarely shows how work flows across several weeks.
That confusion creates missed handoffs, crowded schedules, and last-minute surprises. If you are coordinating a class assignment, home renovation, event, or small work project, a blank page can quickly become difficult to manage.
But here’s the truth: you can create a useful Gantt chart with paper, a ruler, and a pen. Follow these seven steps to turn your project into a clear timeline, then learn when a digital approach becomes more practical.
How to Make a Gantt Chart on Paper in 7 Steps
A paper Gantt chart is a timeline that places project tasks in rows and shows their duration across calendar columns. You can make one in a few minutes with a sheet of paper, a pencil, a ruler, and colored pens.
Here’s why this method works: the left side explains what must happen, while the right side shows when each activity happens. You can spot overlaps without calculating complicated schedules.
-
List every major project task
Start by writing the activities required to finish the project. Use clear action phrases such as “choose a venue,” “order materials,” or “test the presentation.”
Keep each task specific enough to schedule. “Prepare the event” is too broad, while “confirm catering” gives you a clear activity with a visible finish point.
For a school presentation, your initial list might include:
- Choose the topic
- Gather research
- Outline the presentation
- Create slides
- Rehearse
- Present the final work
-
Put the tasks in a sensible order
Arrange the activities from the earliest work to the final result. Think about which tasks must happen first and which can happen at the same time.
For example, you probably need to choose a topic before creating slides. You may gather research while a teammate creates a visual concept.
Write the sequence lightly in pencil. You may discover that two activities belong together or that one task needs to happen earlier.
-
Draw the chart layout
Turn the page sideways if you need more room. Draw a vertical line near the left edge for task names, then add a horizontal line beneath the task area.
Across the top, create columns for your time units. Depending on the project, use days, weeks, or months.
A simple layout might look like this:
Task area Week 1 Week 2 Week 3 Week 4 Task names Time blocks Time blocks Time blocks Time blocks Use a ruler to keep the grid readable. Uneven columns make timing harder to interpret, especially when several tasks overlap.
-
Mark the planned duration of each task
Place a horizontal bar across the columns when each task will happen. The bar should begin at the planned start period and end at the planned completion period.
Suppose “create slides” will take three days during Week 2. Shade three daily columns in that row. If your chart uses weeks, shade the portion representing the expected work period.
Use one color for ordinary work and another for important milestones. A milestone is a point in time, such as “design approved” or “presentation delivered,” rather than a multi-day activity.
-
Show task dependencies
Some tasks cannot begin until another activity is complete. Draw a thin arrow between related bars, or add a short note beside the task.
For instance, “print invitations” may depend on “approve the final design.” An arrow helps you see that a delay in approval could move printing into the following week.
You do not need to connect every task. Focus on relationships that could affect the schedule.
-
Add owners and key dates
Write the responsible person or team beside each task. You can add initials in a narrow column, such as “AM” for Alex Morgan or “Design” for the creative group.
Mark fixed dates with a star, circle, or vertical line. Examples include a client review, inspection, launch, exam, or delivery appointment.
Ownership turns a visual schedule into an action plan. When a bar slips, you know who should update the timing or explain the risk.
-
Review and update the chart regularly
Walk through the chart with everyone involved. Ask whether the durations seem realistic, whether any task is missing, and whether a dependency creates a bottleneck.
During the project, cross out finished work, shade completed portions, and move delayed bars with a different color. Keep the original plan visible when possible so you can compare expectations with progress.
The best part? A paper chart becomes useful through regular updates. A perfect first draft matters less than a schedule people actually review.
What You Need Before Drawing the Timeline
You need only a few simple supplies: paper, a pencil, an eraser, a ruler, and colored pens or highlighters. Use a large sheet when the project contains more than ten tasks.
Choose the time scale before drawing the grid. A weekend garden project may need daily columns, while a six-month renovation may work better with weekly columns.
Let me explain: the wrong scale creates unnecessary clutter. If every day appears on a page for a year-long project, the chart becomes too dense to read.
Choose a time unit that matches the work
| Project length | Useful time unit | Example |
|---|---|---|
| One to seven days | Hours or days | Preparing a small event |
| Two to eight weeks | Days or weeks | Completing a class project |
| Two to twelve months | Weeks or months | Planning a renovation |
Leave room for changes
Reserve a small margin for notes and updates. If the page is filled edge to edge, you may have nowhere to record a delayed approval or new task.
Use pencil for the first layout. Once the schedule feels right, trace the grid with a darker pen and add colors.
How to Make a Hand-Drawn Chart Easy to Read
A paper schedule should answer three questions quickly: what needs doing, when will it happen, and who owns it?
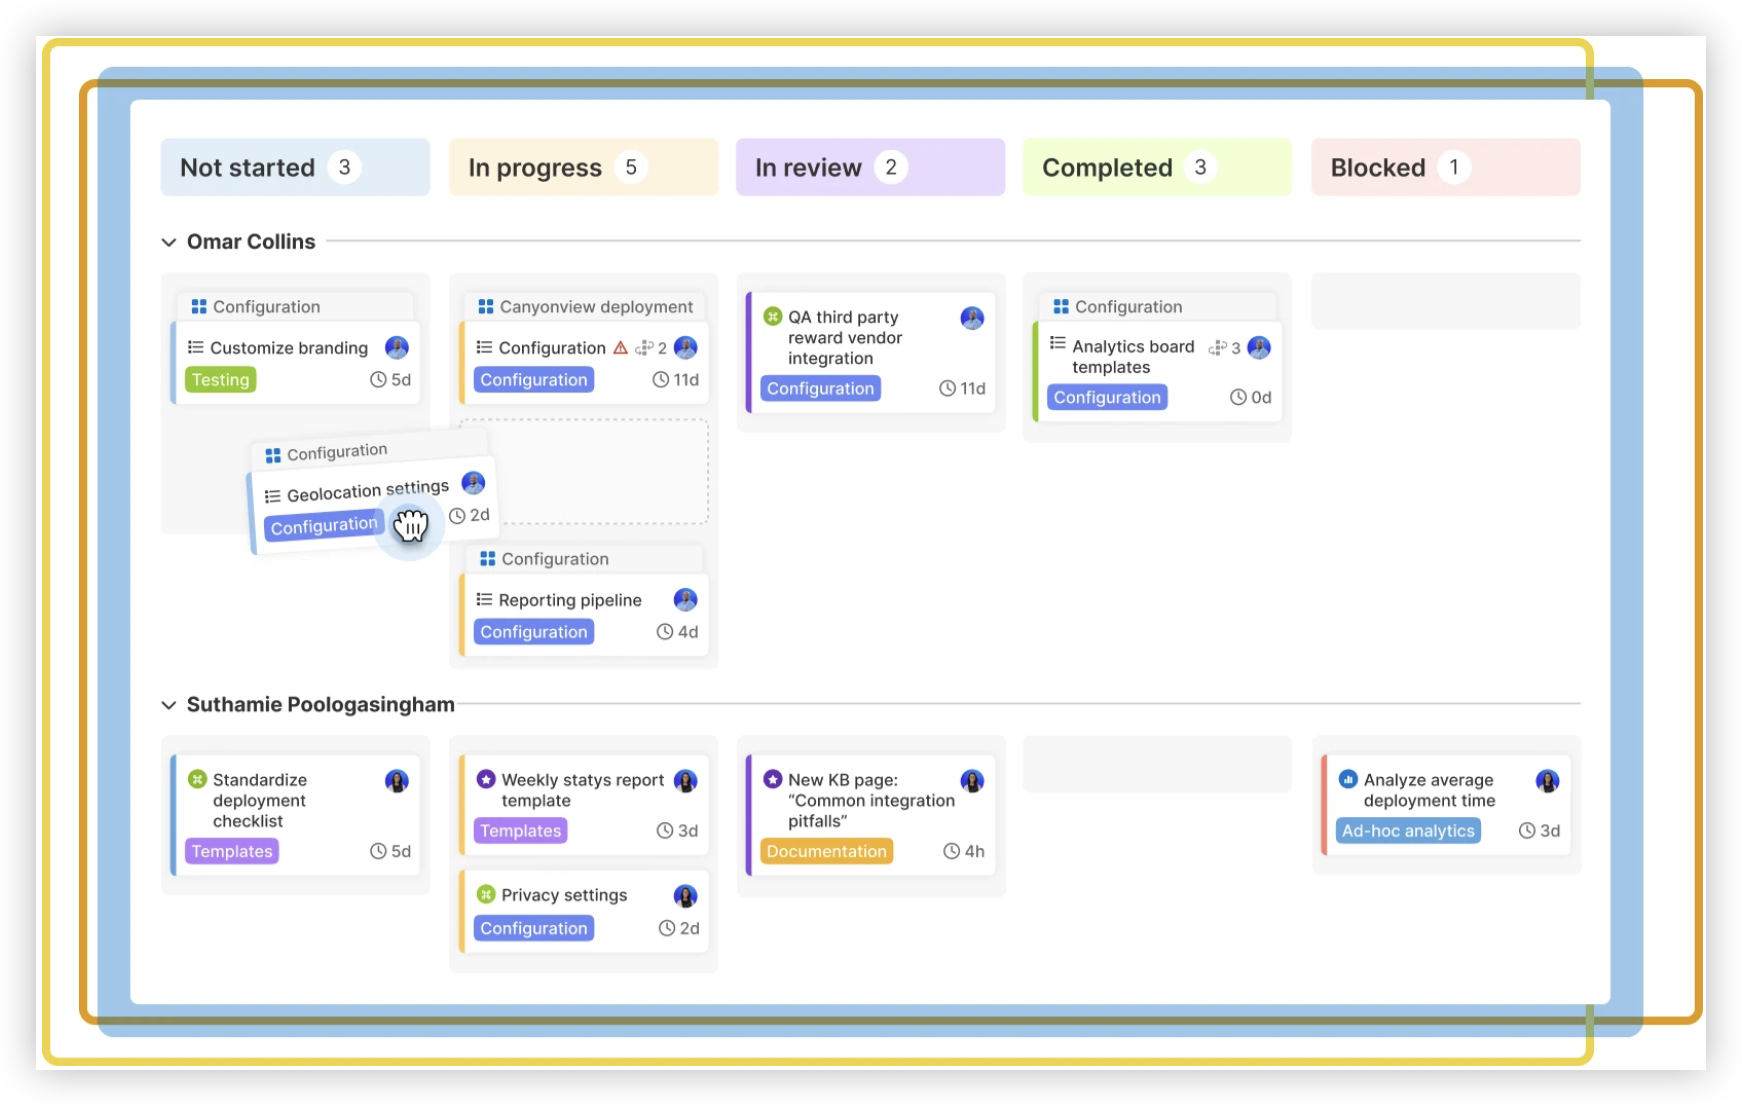
Use short task names, consistent colors, and a clear legend. For example, blue can represent planned work, green can represent completed work, and red can indicate a risk.
Keep one row for one activity
A row containing several unrelated activities becomes difficult to track. Separate “order paint” and “schedule the contractor” even if both happen during the same week.
This separation also makes progress easier to mark. You may finish one activity while the other remains delayed.
Use milestones sparingly
Milestones help highlight important dates, yet too many symbols make the chart noisy. Mark only events that affect decisions, approvals, deliveries, or final completion.
Add a small legend
Place a color key below the chart. Someone viewing the page should understand the markings without asking you for an explanation.
Paper Gantt Chart Example for a Small Project
Imagine you are organizing a community workshop four weeks from now. The work includes selecting a topic, booking a room, inviting speakers, promoting the event, preparing materials, and hosting the session.
A simple schedule could look like this:
| Activity | Week 1 | Week 2 | Week 3 | Week 4 |
|---|---|---|---|---|
| Select workshop topic | Bar | |||
| Book the room | Bar | |||
| Confirm speakers | Bar | Bar | ||
| Promote the event | Bar | Bar | ||
| Prepare materials | Bar | Bar | ||
| Host workshop | Milestone |
This example shows a useful cause-and-effect relationship. If the room is not booked during Week 1, promotion may need to wait because the announcement lacks a confirmed location.
You might be wondering: what happens when work overlaps? Keep the bars on separate rows. Overlapping bars are often normal, provided the people and resources are available.
Paper Versus Digital Project Scheduling
Paper works well for a personal plan, a short project, or a quick planning meeting. You can sketch ideas immediately and adjust them without learning software.
Digital scheduling becomes more helpful when dates change often, several people need access, or the project contains many dependencies. Moving one activity electronically can update a larger plan faster than redrawing several rows.
| Need | Paper chart | Digital workspace |
|---|---|---|
| Quick brainstorming | Excellent | Useful |
| Frequent schedule changes | Time-consuming | Efficient |
| Shared visibility | Requires a physical copy | Available to permitted teammates |
| Automatic reminders | Unavailable | Often available |
| Large project with dependencies | Harder to maintain | Easier to manage |
But here’s the truth: you do not need to abandon paper immediately. Many people sketch the first plan by hand, then move the approved schedule into a digital workspace.
Natural Gantt Chart Solution: ONES.com
For projects that outgrow a hand-drawn timeline, ONES.com provides a unified platform for project management and knowledge management. ONES Project is its project management product and works as a Jira alternative with cloud and self-hosted deployment options.

Value Proposition
ONES Project helps you turn a static timeline into a shared schedule with tasks, owners, dependencies, reporting, and workflow controls. You can use it when several people need the same plan and schedule changes need to remain visible.
Core Capabilities
Frequent date changes → flexible scheduling → less redrawing
Hand-drawn bars become difficult to maintain after several delays. ONES Project lets you adjust task timing within a digital project view, so the schedule stays easier to revise.
Unclear ownership → assigned tasks → clearer accountability
A paper chart can show initials, yet teammates may miss updates. ONES Project assigns work to specific people and keeps responsibility attached to each activity.
Hidden dependencies → linked workflows → earlier risk detection
Arrows on paper help, but complex relationships can become crowded. Jira-compatible workflows and linked task relationships make blocked work easier to identify.
Scattered progress updates → built-in reporting → faster reviews
Manual chart reviews take time when a project has many activities. Built-in reporting gives you a clearer view of progress, delays, and workload during status meetings.
Different teams using different methods → custom workflows and fields → consistent execution
A marketing launch and an engineering release may need different stages. Custom workflows and fields let each team track the information relevant to its work.
Repeated routine work → automation → fewer manual updates
Recurring transitions and notifications can consume attention. Automation handles suitable routine actions so the team can focus on decisions and delivery.
Short delivery cycles → sprint management → focused planning
If your project uses iterative work, a static paper schedule may not show changing sprint priorities clearly. Sprint management helps teams plan, monitor, and review short delivery cycles.
Restricted environments → on-premise, private cloud, or air-gapped deployment → greater infrastructure control
Some organizations cannot place project information in a public cloud environment. ONES.com supports Cloud, On-Premise, Private Cloud, and Air-gapped deployments, with feature parity between cloud and self-hosted versions.
Application Scenarios
Small event planning: You can sketch the first event timeline by hand, then move it into ONES Project when speakers, venue staff, and promotion teams need shared visibility.
Product development: A team can connect research, design, development, testing, and release activities. Sprint planning and reporting provide more detail than colored paper bars.
Restricted-network project work: An organization with strict infrastructure requirements can use a self-hosted deployment while keeping structured workflows and reporting available to its project teams.
ONES Project and ONES Wiki are sold separately. ONES.com offers a free plan for up to 30 seats, allowing a small team to evaluate the workspace before choosing a broader setup.
Common Challenges With Paper Gantt Charts
Challenge: The chart becomes too crowded
Solution: Divide a large project into phases, then create one overview page and separate pages for detailed work. Use weekly columns instead of daily columns when daily detail adds clutter.
Challenge: People forget to update the schedule
Solution: Set a regular review point, such as every Monday morning. Ask each owner to mark finished work and identify the next risk.
Challenge: Delays make the original plan confusing
Solution: Keep planned bars in one color and revised bars in another. This preserves the original expectation while showing the current path.
Challenge: Dependencies are unclear
Solution: Add arrows only for important relationships, then write a short note beside any task that cannot begin until another activity ends.
Challenge: The chart stays on one person’s desk
Solution: Display it in a shared planning area or photograph the latest version for permitted teammates. Move to a digital workspace when remote access and frequent updates become essential.
FAQs
What supplies do I need to make a Gantt chart by hand?
You need paper, a pencil, an eraser, a ruler, and colored pens or highlighters. A large sheet helps when you have many tasks. Use pencil for the first layout because task order and timing often change during planning. Add a small legend so everyone understands what each color, symbol, or line means.
Should I use days or weeks on a paper schedule?
Choose the smallest practical time unit. Use days for short projects with frequent deadlines, such as event preparation or a one-week assignment. Use weeks for longer efforts, such as a renovation or product launch. If daily columns make the page crowded, switch to weekly columns and write exact dates beside important milestones.
How do I show progress on a hand-drawn chart?
Shade completed portions with a different color, add checkmarks beside finished tasks, or draw a vertical line showing today’s date. Keep planned timing visible when possible. For example, a blue bar can show the original plan while green shading shows completed work and red marks identify delays.
Can I create a Gantt chart without software?
Yes. Paper works well for simple projects with a small team, limited task changes, and a short timeline. It becomes harder to maintain when many activities overlap or several people need real-time access. In those situations, a digital project workspace can reduce manual updates and improve shared visibility.
When should I move from paper to a digital tool?
Consider moving when dates change frequently, the project has many dependencies, or teammates work in different locations. A digital tool also helps when you need reminders, reporting, custom workflows, or a history of updates. You can still begin with a paper sketch before building the more detailed schedule electronically.
Conclusion
To make a Gantt chart on paper, list the tasks, order them, draw a time grid, mark durations, connect key dependencies, assign owners, and review the plan regularly.
Paper gives you a fast way to see the project. It works especially well for short timelines and early planning. The main risk appears when updates become frequent and the chart no longer reflects reality.
That is the PAS lesson: an unclear task list creates scheduling problems, stale markings increase the confusion, and a simple visual timeline gives you control again. Start with paper, then use ONES Project when your schedule needs shared access, structured workflows, reporting, or automation.