How to Make a Gantt Chart in Smartsheet: A 7-Step Guide
Building a project timeline in Smartsheet can feel harder than it should. You may know the tasks, dates, and deadlines, yet still end up with overlapping work and unclear ownership. A poorly planned chart can hide delays until they affect the whole project. It can also make status meetings longer because everyone interprets progress differently. But here's the truth: you can create a useful Smartsheet Gantt chart in about seven practical steps. Start with a structured project sheet, add dates and dependencies, switch to Gantt view, and keep the schedule updated. This guide shows you exactly how to do it, with examples for marketing launches, software projects, and operational work.
How to Make a Gantt Chart in Smartsheet in 7 Steps
A Smartsheet Gantt chart is a visual project timeline that displays tasks as horizontal bars across calendar dates. It helps you see task duration, sequencing, dependencies, milestones, ownership, and overall progress in one view.
Smartsheet creates the timeline from columns in a project sheet. You enter tasks and scheduling details, then select Gantt view to display the work visually.
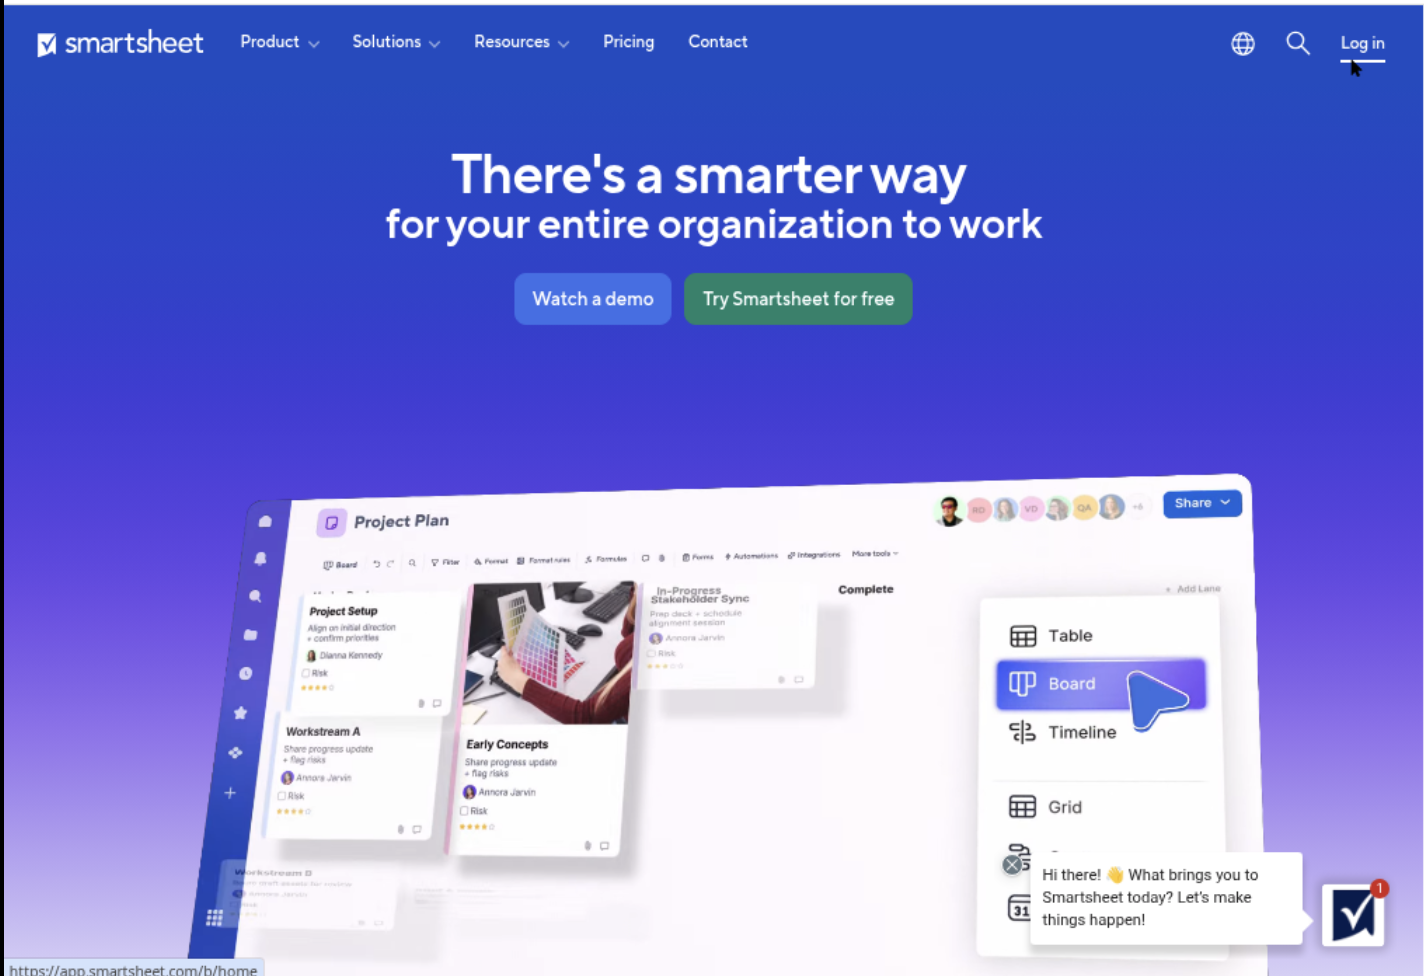
Step 1: Create a project sheet
Sign in to Smartsheet and create a new blank sheet or choose a project template. A blank sheet gives you more control when your workflow has unusual stages.
Give the sheet a clear name, such as Website Redesign Timeline or Quarterly Product Launch. A specific name makes the schedule easier to find later.
Start with these columns:
- Task Name: the activity or milestone you need to track
- Assigned To: the person or team responsible for the work
- Start Date: the planned beginning of the task
- End Date: the planned completion date
- Duration: the expected working time
- Predecessors: tasks that must happen first
- % Complete: the current progress level
- Comments or Notes: context, risks, or delivery details
You do not need every column immediately. However, Start Date and End Date are essential for displaying task bars.
Step 2: Add tasks and organize the hierarchy
Enter each major activity as a separate row. Then add smaller work items beneath the activity they support.
For example, a website launch might include these rows:
| Task Name | Example Work |
|---|---|
| Planning | Project kickoff, requirements, and success criteria |
| Design | Wireframes, visual design, and stakeholder review |
| Development | Page construction, integrations, and testing |
| Launch | Final approval, deployment, and post-launch monitoring |
Use indentation to create parent and child rows. The parent row becomes a summary task, while the indented rows show the work required to complete it.
For instance, “Design” can contain “Create wireframes,” “Complete visual design,” and “Approve design.” This structure makes the schedule easier to scan.
Here's why: a long list of unrelated tasks rarely explains how a project works. A hierarchy shows the relationship between planning stages and the actions inside them.
Step 3: Enter dates, durations, and milestones
Add a Start Date and End Date for each task. Smartsheet uses those values to draw bars on the timeline.
For a two-week design task, you might enter March 3 as the start date and March 14 as the end date. The chart then shows the planned work across those dates.
Use milestones for important events that take place on one date. Examples include:
- Contract approved
- Design signed off
- Testing completed
- Product released
A milestone usually has the same Start Date and End Date. Depending on your Smartsheet setup, you can also identify it as a milestone through the task settings or duration value.
Be consistent with your calendar assumptions. If your team works Monday through Friday, confirm that the project calendar reflects working days.
You might be wondering: should you enter Duration or calculate it manually? Enter dates first when possible. Smartsheet can calculate duration from the date range, reducing arithmetic errors.
Step 4: Turn on dependencies
Dependencies show how one task affects another. When a predecessor moves, Smartsheet can adjust connected tasks according to the relationship.
Open the project settings and enable dependencies. Smartsheet will use columns such as Predecessors, Duration, Start Date, and End Date to manage the schedule.
Common dependency relationships include:
- Finish-to-Start: the next task begins after the previous task finishes
- Start-to-Start: the next task begins after the previous task starts
- Finish-to-Finish: two tasks should finish together
- Start-to-Finish: the next task finishes after the previous task begins
Finish-to-Start is the most common relationship. For example, “Write product copy” must finish before “Publish product page” begins.
Enter the predecessor row number in the Predecessors column. You can add a lag when a task needs waiting time. For example, a review might begin two working days after a draft is complete.
Use dependencies carefully. Connecting every task can make the schedule difficult to adjust. Link work only when the timing genuinely depends on another activity.
Step 5: Switch to Gantt view
Select the Gantt view option in Smartsheet. Your task rows will appear beside a horizontal timeline.
The left side shows the task hierarchy and scheduling details. The right side displays bars, milestones, dependencies, and progress.
Adjust the timeline scale to show days, weeks, months, quarters, or another useful interval. A daily view helps during a launch week, while a monthly view works better for a six-month program.
Review the chart at two levels:
- Detailed view: inspect individual tasks, dates, and dependencies
- Executive view: review summary tasks, milestones, and major delivery dates
The best part? You can change dates in the sheet or adjust the timeline, then review the schedule visually in the same workspace.
Step 6: Add owners, progress, and status information
A timeline becomes more useful when every active task has an owner. Assign a person or team to each task, especially work that affects a deadline.
Update the % Complete column as work progresses. A task at 50 percent completion should reflect real progress toward its outcome.
Add a status column with values such as:
- Not started
- In progress
- At risk
- Blocked
- Complete
Use conditional formatting to highlight overdue tasks, blocked work, or approaching milestones. For example, you could highlight tasks in red when the End Date has passed and % Complete remains below 100 percent.
Let me explain: progress percentages alone can hide risk. A task marked 80 percent complete may still be blocked by a final approval. Pair progress with status and notes for a clearer view.
Step 7: Review, share, and maintain the schedule
Before sharing the chart, check for missing dates, incorrect predecessors, duplicate tasks, and unrealistic durations.
Then share the sheet with project contributors, reviewers, or stakeholders. Set permissions according to each person’s role. Some people may need editing access, while others only need to view the timeline.
Use comments or update requests when you need information from task owners. This keeps questions connected to the relevant work instead of scattering them across messages.
Schedule a regular review rhythm. A weekly review works for many projects. During each review:
- Update completed and active tasks.
- Check overdue work and unresolved blockers.
- Review upcoming milestones.
- Confirm whether dependencies still reflect reality.
- Adjust dates when approved changes affect delivery.
- Record major decisions and risks.
A Gantt chart stays accurate only when the team treats it as an active planning tool. Build the habit into your project meetings.
Prepare the Smartsheet Structure Before Adding Dates
The quality of your timeline depends on the quality of your task structure. If you begin with vague rows such as “Marketing” or “Development,” the chart will show activity without explaining deliverables.
Turn broad work into observable outcomes. “Prepare campaign” could become “Approve audience,” “Write email sequence,” “Design landing page,” and “Schedule campaign.” Each row should produce a clear result.
Use this simple test: could another person tell whether the task is finished? If the answer is no, make the task more specific.
Choose the right level of detail
Too little detail makes delays hard to diagnose. Too much detail turns the chart into a burdensome activity log.
For example, “Build checkout experience” may work as a task for an executive timeline. A delivery team may need separate rows for payment integration, error handling, confirmation emails, and quality testing.
Choose the level that supports decisions. If a task takes several weeks, consider dividing it into smaller deliverables. If a task takes 15 minutes and has little scheduling impact, keep it inside a broader activity.
Use summary rows for phases
Summary rows help you group related work into phases. They also make it easier to see where the project is spending time.
A product release might use phases such as discovery, design, engineering, validation, and release. Each phase can contain several child tasks with their own owners and dates.
For a small project, three to five phases may be enough. A schedule with 20 summary rows can overwhelm the people who need a quick overview.
Build Dependencies That Reflect Real Work
Dependencies are valuable because they reveal cause and effect. They show why one date matters and what could move when another activity slips.
Imagine a training rollout. The team cannot schedule live training until the course outline is approved. The support team cannot publish help content until the training steps are final.
The chain might look like this:
| Task | Dependency |
|---|---|
| Approve course outline | Starts after stakeholder review |
| Record training videos | Starts after outline approval |
| Publish help content | Starts after video scripts are finalized |
| Open live training | Starts after videos and help content are ready |
That chain helps you identify the project’s critical path. A delay in the outline may affect every later activity, while a delay in an optional survey may have little impact.
Avoid artificial links
Some teams connect tasks simply because they appear in the same phase. That creates unnecessary constraints.
For example, social media graphics may begin while a landing page is being built. Linking those tasks can delay the graphics without a real operational reason.
Use a dependency when timing matters. Leave tasks independent when parallel work is practical.
Format the Timeline for Different Audiences
A project team and an executive sponsor rarely need the same view. Team members need task details, while sponsors usually need phase status, major risks, and milestone dates.
Use filters, grouping, and timeline controls to focus attention. A team lead might filter for tasks assigned to engineering. A sponsor might review only summary rows and milestones.
Make milestones visible
Milestones act as visual anchors. Add them for decisions and outcomes that change the project’s direction.
Useful milestone examples include:
- Budget approved
- Prototype accepted
- Security review passed
- Pilot launched
- General release completed
Too many milestones reduce their value. Choose dates that stakeholders genuinely care about.
Use colors with purpose
Colors should communicate meaning quickly. You might use one color for planned work, another for active work, and a warning color for risk.
Keep the color system simple. If every team, phase, owner, and status has a different color, the chart becomes difficult to interpret.
Show progress honestly
Progress bars should reflect completed outcomes. A task is not 75 percent complete merely because 75 percent of the planned time has passed.
For example, a testing task may take five days. If testing has finished three of six required scenarios, 50 percent may be more accurate than a calendar-based estimate.
Keep the Schedule Reliable During Project Changes
Projects change. A supplier may miss a delivery, a reviewer may request new work, or a technical issue may require a different approach.
Update the schedule when an approved change affects timing, ownership, or dependencies. Avoid changing dates merely to make the project appear healthy.
For example, if a design review slips by three days, update the review task and check every connected task. Then communicate the effect on the release milestone.
Use a change review habit
When someone requests new work, ask four questions:
- What outcome does the new work support?
- Who owns it?
- What duration does it require?
- Which existing task or milestone could move?
Add approved work to the schedule with an owner and realistic dates. If the request is still under discussion, track it separately until the team agrees to include it.
Watch the critical path
The critical path contains tasks that directly influence the final delivery date. A delay on that path can move the whole project.
Review critical tasks during every status meeting. A task may become critical when another workstream finishes early or when a new dependency appears.
Here's why: project risk changes as work progresses. A task that seemed flexible in week one may become urgent after an approval delay.
Natural Project Timeline Solution: ONES.com

Value Proposition
ONES.com combines project management and knowledge management in one platform powered by ONES Assistant. ONES Project provides project planning, tracking, workflows, and reporting as a Jira alternative.
It can help teams manage structured timelines while keeping project context close to the work. ONES Project and ONES Wiki are sold separately, so you can choose the capability that fits your environment.
Core Capabilities
- Disconnected project information → unified project workspace → Keep tasks, ownership, status, and planning details together so contributors spend less time searching across systems.
- Complex task relationships → Jira-compatible workflows → Use familiar work patterns for projects that require connected tasks, approvals, and handoffs.
- Rigid planning structures → custom workflows and fields → Adapt task stages, metadata, and review steps to match your actual delivery process.
- Manual status reporting → built-in reporting → Turn project activity into progress views that help managers identify delays and workload concerns.
- Unclear iteration planning → sprint management → Organize planned work into sprints and review progress against each delivery cycle.
- Repetitive coordination → automation → Reduce routine actions, such as routing work or updating status after a defined event.
- Plugin-heavy project setups → native capability parity → Cover core planning and management needs with fewer separate extensions.
- Restricted hosting requirements → on-premise, private cloud, and air-gapped deployments → Support teams that need deployment control beyond a standard cloud environment.
- Different hosting preferences → four deployment choices → Select Cloud, On-Premise, Private Cloud, or Air-gapped deployment while retaining full feature parity between cloud and self-hosted versions.
- High entry cost for small teams → free plan for up to 30 seats → Start with a smaller team before expanding the workspace.
Application Scenarios
Software delivery: A development team can organize epics, stories, sprints, defects, and release milestones in connected workflows. Built-in reporting can help the delivery lead review progress without rebuilding status reports manually.
Regulated operations: A team working in a restricted network can use an air-gapped or on-premise deployment. This supports controlled project planning where cloud access is limited.
Cross-functional launches: Marketing, product, and operations teams can coordinate approvals and launch tasks with custom fields. If the team also needs a knowledge base, ONES Wiki offers a separate Confluence alternative for organizing project guidance.
Common Challenges When Building a Smartsheet Gantt Chart
Challenge: Tasks lack realistic dates
Problem: Teams often enter target dates without checking capacity, review time, or working calendars.
Solution: Estimate duration with the task owner. Add time for approvals, handoffs, testing, and likely rework.
Challenge: Dependencies create confusing date shifts
Problem: Incorrect predecessor links can move tasks unexpectedly or create a schedule that is too rigid.
Solution: Review each relationship in plain language. Ask whether the next task truly must wait for the previous task.
Challenge: The chart contains too much detail
Problem: Hundreds of rows make it difficult to spot priorities and milestones.
Solution: Keep the main project timeline focused on meaningful deliverables. Track small internal actions separately when they do not affect key dates.
Challenge: Progress updates become unreliable
Problem: People forget to update dates, percentages, or status fields.
Solution: Assign one schedule owner and set a recurring update deadline. Use meetings to review exceptions rather than recreate the entire plan.
Challenge: Stakeholders misunderstand the timeline
Problem: A chart can show dates without explaining assumptions or risks.
Solution: Add notes for major assumptions, highlight critical milestones, and explain which tasks can run in parallel.
FAQs
Can I create a Gantt chart in Smartsheet without a template?
Yes. Create a blank project sheet, add task and date columns, enter your activities, and select Gantt view. A template can save setup time, while a blank sheet gives you more control over hierarchy, fields, and workflow. For a small project, start with Task Name, Start Date, End Date, Assigned To, Predecessors, and % Complete.
Which columns are required for a Smartsheet Gantt chart?
Start Date and End Date are the essential scheduling columns. You can also use Duration, Predecessors, Assigned To, % Complete, and Status. These additional fields make the timeline more useful because they show workload, sequencing, progress, and risk. Smartsheet may calculate duration when you enter the start and end dates.
How do I add a milestone?
Create a row for the event and give it one date. A milestone represents an important point, such as approval, launch, or testing completion. You can configure the row as a milestone through the project settings or duration behavior available in your Smartsheet account. Keep milestone names specific so stakeholders understand the expected outcome.
Why are my task dates changing automatically?
Automatic date changes usually result from dependencies, duration settings, calendars, or predecessor relationships. Check the Predecessors column first. Then confirm whether the task has a lag, whether working days are configured correctly, and whether a connected task moved. Review the relationship in plain language before removing the dependency.
How often should I update a project timeline?
Update it at least weekly for most projects. High-risk launches may need daily updates during critical periods. Focus on completed work, active tasks, overdue items, blockers, and upcoming milestones. A schedule becomes unreliable when updates happen only before stakeholder meetings, because delays and risks remain hidden between reviews.
Conclusion
Creating a Smartsheet Gantt chart takes seven core actions: build the project sheet, organize tasks, add dates, connect dependencies, switch to Gantt view, track ownership and progress, then review the schedule regularly.
Start with clear deliverables instead of vague activities. Use milestones to mark decisions, dependencies to explain timing, and status fields to reveal risk. Keep the chart detailed enough for delivery while preserving a readable overview.
But here's the truth: the chart alone cannot rescue an unclear plan. Define the work, assign ownership, update the schedule, and discuss changes when they happen. With that habit, your timeline becomes a practical planning system rather than a static calendar.