How to Make a Gantt Chart in Microsoft Project: 7 Steps
Building a project schedule in Microsoft Project can feel harder than the work itself. Tasks, dependencies, milestones, resources, and dates all need to fit together before the timeline becomes useful. A few incorrect links can shift every downstream activity and create confusion for your team. The good news is that Microsoft Project can turn a task list into a clear visual schedule once you set up the plan in the right order. In this guide, I’ll walk you through seven practical steps for creating a Gantt chart, adjusting it, and keeping it readable as your project changes. You’ll also see common mistakes, helpful formatting techniques, and an alternative for teams that need broader collaboration.
How to Create a Gantt Chart in Microsoft Project
Microsoft Project creates a Gantt chart automatically when you enter tasks into a project plan. The chart displays activities as horizontal bars across a timeline, while links between tasks show the order of work.
Follow these seven steps to build a reliable schedule rather than simply filling in dates.
-
Start a New Project
Open Microsoft Project and create a blank project. Before entering tasks, set the project start date so Project can calculate the schedule consistently.
Go to Project, select Project Information, and choose the planned start date. Leave the scheduling method set to schedule from the project start date unless your plan must work backward from a fixed deadline.
For example, if construction begins on April 8, enter April 8 as the project start. Project can then calculate later dates when you add durations and relationships.
-
Enter the Main Tasks
Type the major activities in the Task Name column. Use one row for each meaningful piece of work, such as “Confirm requirements,” “Design the interface,” or “Run acceptance testing.”
Start with broad activities before adding detailed tasks. A short website project might include:
- Planning
- Content preparation
- Design
- Development
- Testing
- Launch
Keep task names action-oriented. “Testing” is less clear than “Complete browser testing,” because the second version describes the expected result.
-
Break Work Into Summary Tasks and Subtasks
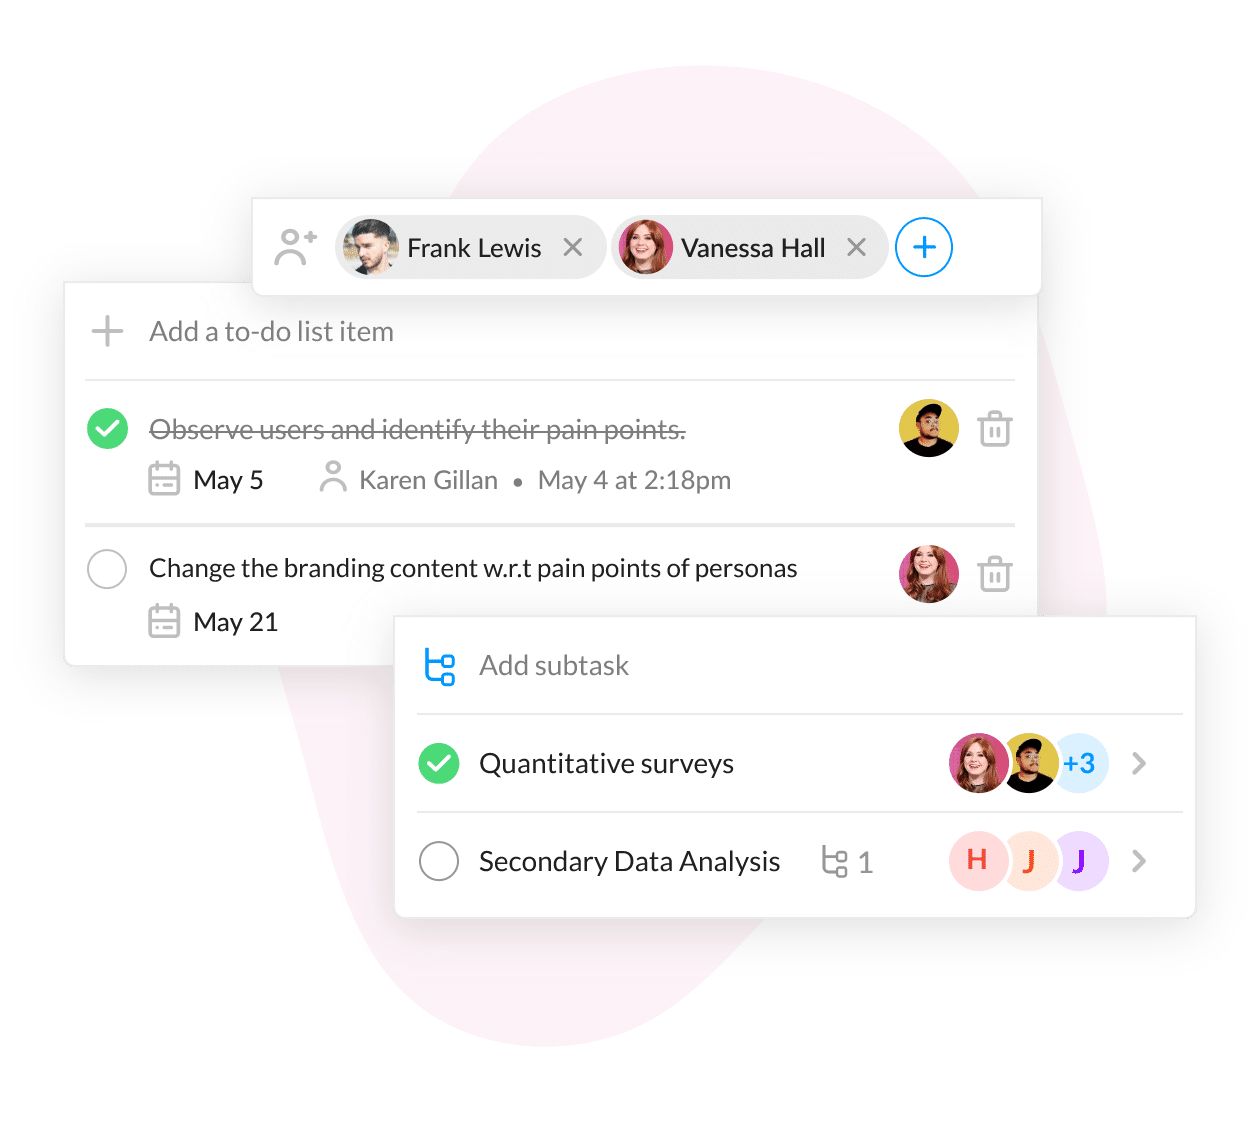
Large activities become easier to manage when you divide them into smaller tasks. In Microsoft Project, select the detailed rows and use Indent Task to place them under a summary task.
For example, “Testing” could contain:
- Prepare test cases
- Run functional tests
- Resolve defects
- Complete final review
The parent activity becomes a summary task. Its duration expands or contracts as the subtasks change, giving you a quick view of each project phase.
Keep subtasks specific enough to estimate. “Build everything” is too broad, while “Create checkout confirmation message” may be suitably clear for a small development activity.
-
Assign Task Durations
Enter an estimated duration for every scheduled task. You can use minutes, hours, days, or weeks, depending on the scale of your plan.
For example, enter 3d for a three-day activity or 2w for a two-week activity. Microsoft Project then draws each task bar across the corresponding calendar period.
Use estimates that reflect working time. If a task takes six hours of effort but can only be completed during a two-hour daily window, its calendar duration may span several days.
Milestones are different. Enter a duration of zero for an event such as “Contract approved” or “Product launched.” Microsoft Project displays that event as a diamond on the chart.
-
Link Tasks With Dependencies
Dependencies show how one activity relates to another. Select related tasks and use Link Tasks, or enter predecessor information in the predecessor column.
The most common relationship is finish-to-start. It means the next task begins after the previous task finishes. For example, development may start after the design review is complete.
Microsoft Project also supports other relationships:
- Start-to-start: two activities begin together or within a planned delay.
- Finish-to-finish: two activities finish together or within a planned delay.
- Finish-to-start: one activity finishes before another begins.
- Start-to-finish: one activity starts before another can finish.
Use links for genuine relationships, not simply because tasks appear next to each other. Too many unnecessary links can make schedule changes difficult to understand.
-
Review the Timeline and Critical Path
Once durations and dependencies are in place, review the Gantt chart from left to right. Check whether the task bars appear in a logical sequence and whether the finish date is realistic.
Use the Gantt Chart view to inspect the schedule. You can also highlight the critical path, which identifies activities that directly affect the project finish date.
For example, if testing has no available float, a two-day delay in testing may delay launch by two days. That makes testing a higher scheduling priority than an activity with several weeks of flexibility.
Review the critical path after major changes. Adding a new dependency or extending a task can move critical work to a different phase.
-
Format and Share the Chart
A useful chart should be readable during a project meeting. Adjust the timeline scale so people can see the right level of detail. Use weeks for a short implementation and months for a year-long program.
You can format bars by task type, add labels, display milestones, and group work by summary task. Keep colors consistent. For example, use one color for planning, another for execution, and a separate style for milestones.
Before sharing the schedule, confirm that task names, dates, links, and ownership details are current. A polished chart with outdated relationships can create more confusion than a simple chart with accurate information.
How to Structure the Schedule Before You Begin
A Gantt chart is only as useful as the plan behind it. Begin with the project outcome, then list the phases required to reach it. After that, identify the deliverables within each phase.
For example, a product release may have a planning phase, a build phase, a review phase, and a launch phase. Each phase should contain tasks that someone can estimate, assign, and complete.
Here’s why: a chart filled with vague activities hides risk. “Prepare launch” could involve marketing approval, training, support readiness, and technical checks. Breaking it apart reveals the real workload.
Avoid adding every tiny action immediately. Start with a schedule that helps you make decisions. You can add detail when a phase moves closer or when a team member needs a clearer work package.
How Task Dependencies Affect the Timeline
Dependencies control how changes move through the schedule. If you extend a design task by three days, every linked activity may move unless another relationship or available float absorbs the delay.
Imagine a mobile app plan. The sequence might run from interface design to coding, then internal testing, then customer review. Connecting those activities gives Microsoft Project enough information to recalculate the dates.
But here's the truth: many schedule problems come from missing relationships rather than incorrect durations. If testing depends on a completed build, that connection should appear in the plan.
Use lag carefully. A two-day lag after “Submit legal review” may represent a realistic waiting period. However, avoid adding lag when a separate task would explain the waiting work more clearly.
How to Make the Chart Easier to Read
A crowded Gantt chart can overwhelm the people who need it most. Show the right amount of information for the audience and purpose.
For an executive review, display phases, milestones, major risks, and the expected finish date. For a delivery team, include detailed activities, ownership, dependencies, and near-term deadlines.
The best part? Small formatting improvements can make schedule discussions much faster. Try grouping related tasks, widening the task-name column, and selecting a timescale that matches the project length.
You can also add custom fields for status, priority, or department. Use clear values such as “Not started,” “In progress,” “Blocked,” and “Complete.” Consistent labels help people interpret the chart without a long explanation.
How to Maintain an Accurate Project Plan
Creating the first chart is only the beginning. Update actual progress as work happens so the forecast remains useful.
Record actual start dates, actual finish dates, remaining duration, or percentage complete. If an activity is blocked, add a note explaining the reason and expected resolution.
For example, a procurement task may be 60% complete but waiting for supplier confirmation. Marking it as partially complete without recording the constraint can make the finish date look safer than it is.
Set a regular review rhythm. A weekly update works for many projects, while a daily review may suit a short launch or a schedule with high operational risk.
You might be wondering: should every change be reflected immediately? Update the plan whenever a change affects dependencies, resources, milestones, or the final delivery date. Minor wording changes can wait.
Microsoft Project Alternative: ONES.com

Value Proposition
ONES.com combines project management and knowledge management in one platform powered by ONES Assistant. ONES Project is the project management product and can serve as a Jira alternative for teams that need structured planning, reporting, and flexible deployment.
It can help when your team wants Gantt-style planning alongside workflows, team knowledge, and project context without relying on a large collection of plugins.
Core Capabilities
- Disconnected planning is difficult: ONES Project supports Cloud, On-Premise, Private Cloud, and Air-gapped deployments, giving teams more control over where work is managed.
- Existing project workflows may be hard to replace: Jira-compatible workflows help teams carry familiar approval and issue-management patterns into a different environment.
- Different teams need different processes: Custom workflows and custom fields let you model reviews, approvals, risks, and delivery states around your own process.
- Manual status reporting consumes time: Built-in reporting gives project leaders clearer visibility into progress, workload, and schedule health.
- Sprint planning can become disconnected from larger milestones: Sprint management connects short delivery cycles with broader project planning.
- Repeated administrative actions slow delivery: Automation can handle routine transitions, notifications, and workflow actions.
- Project context gets scattered across separate tools: ONES Wiki provides a knowledge base that can sit alongside project work, while ONES Project handles project management.
- Teams worry about feature gaps after deployment changes: ONES.com provides full feature parity between its cloud and self-hosted versions.
ONES.com offers a free plan for up to 30 seats. ONES Project and ONES Wiki are sold separately, so you can choose the product that matches your immediate needs.
Application Scenarios
Software delivery: A product team can manage backlogs, sprints, dependencies, and release milestones in ONES Project. A related knowledge space can hold testing guidance, release notes, and onboarding information.
Restricted environments: An engineering team with air-gapped requirements can run its project workflows in a controlled deployment rather than moving planning activity into a public cloud.
Cross-functional launches: Marketing, engineering, support, and operations can use custom fields and reports to track ownership, readiness, and approval status across one launch plan.
Common Challenges When Building a Gantt Chart
Challenge: The Schedule Contains Too Much Detail
Problem: Every small action appears as a separate row, making the chart difficult to scan.
Solution: Use summary tasks for phases and keep detailed activities at a level someone can estimate and manage. Add deeper detail only when it supports a real decision.
Challenge: Dates Are Entered Without Relationships
Problem: Manually typed dates may look precise, but they do not explain how work should move after a delay.
Solution: Link activities through meaningful dependencies. Use date constraints only when a genuine external deadline requires them.
Challenge: The Finish Date Keeps Moving
Problem: The project completion date changes after small updates.
Solution: Review the critical path, missing relationships, resource availability, and unrealistic estimates. A moving finish date often reflects an unstable plan rather than a software problem.
Challenge: Stakeholders Cannot Interpret the View
Problem: The chart includes technical details that do not help decision-makers.
Solution: Create an audience-specific view. Show milestones and phase summaries for leadership, then use detailed task views for the delivery team.
FAQs
Does Microsoft Project automatically create a Gantt chart?
Yes. Microsoft Project opens many project plans in a Gantt Chart view by default. When you add task names, durations, and relationships, the program draws bars across the timeline. The chart becomes more useful as you add summary tasks, milestones, predecessors, and progress details. You still need to structure the plan carefully because Microsoft Project cannot decide whether your activities or dependencies accurately represent the work.
What should I enter first in Microsoft Project?
Start with the project start date and the main task list. Then organize activities into phases, add durations, and connect dependencies. This order gives you a logical foundation for schedule calculations. Avoid entering arbitrary start and finish dates for every task at the beginning. Relationship-driven scheduling usually makes later changes easier to manage.
How do I add a milestone?
Create a task for the event, give it a clear name, and set its duration to zero days. Microsoft Project displays the milestone as a diamond on the chart. Examples include “Design approved,” “Pilot complete,” and “Launch released.” Add predecessors when the milestone depends on earlier work, so the event moves when the related activity changes.
What is the difference between a task and a summary task?
A task represents a specific activity someone can perform and track. A summary task groups several related subtasks under a broader phase, such as “Testing” or “Deployment.” Microsoft Project calculates the summary task’s overall span from its subtasks. Summary tasks help you move between a high-level project view and the detailed work required to complete each phase.
Can I use a Gantt chart for agile projects?
Yes. A Gantt chart can show releases, dependencies, sprint windows, milestones, and cross-team coordination alongside agile practices. It should complement sprint planning rather than replace it. For example, a team might use sprints for daily delivery management while using a higher-level timeline to track a product release, compliance review, or customer launch.
Conclusion
Creating a Gantt chart in Microsoft Project involves more than entering a list of dates. Set the project start date, add clear tasks, organize subtasks, estimate durations, connect dependencies, review the critical path, and format the final view for its audience.
Remember the main risk: a polished chart can still mislead you when relationships or estimates are incomplete. Keep the schedule at a useful level of detail, update progress regularly, and investigate every major finish-date change.
When your team needs broader collaboration, flexible deployment, reporting, or a Jira alternative, ONES.com offers ONES Project for structured project management and ONES Wiki for connected knowledge management. The right approach turns a timeline from a static visual into a practical planning tool.